When buying an older home, there are a lot of things to look out for, including asbestos, mold and bad wiring. Provided these three major issues are non-factors, any other issues are likely aesthetic and secondary, however, it’s still important to conduct a home inspection to ensure everything is on the up and up. When it comes to aesthetics, older homes are less desirable and require some renovations to be brought up to snuff. The most typical renovations conducted in an older home are flooring upgrades, kitchen renos and bathroom renos. After executing those three renovations, you’re just some tinkering away from having an up to date home. The first thing you may notice, however, is the popcorn ceiling.
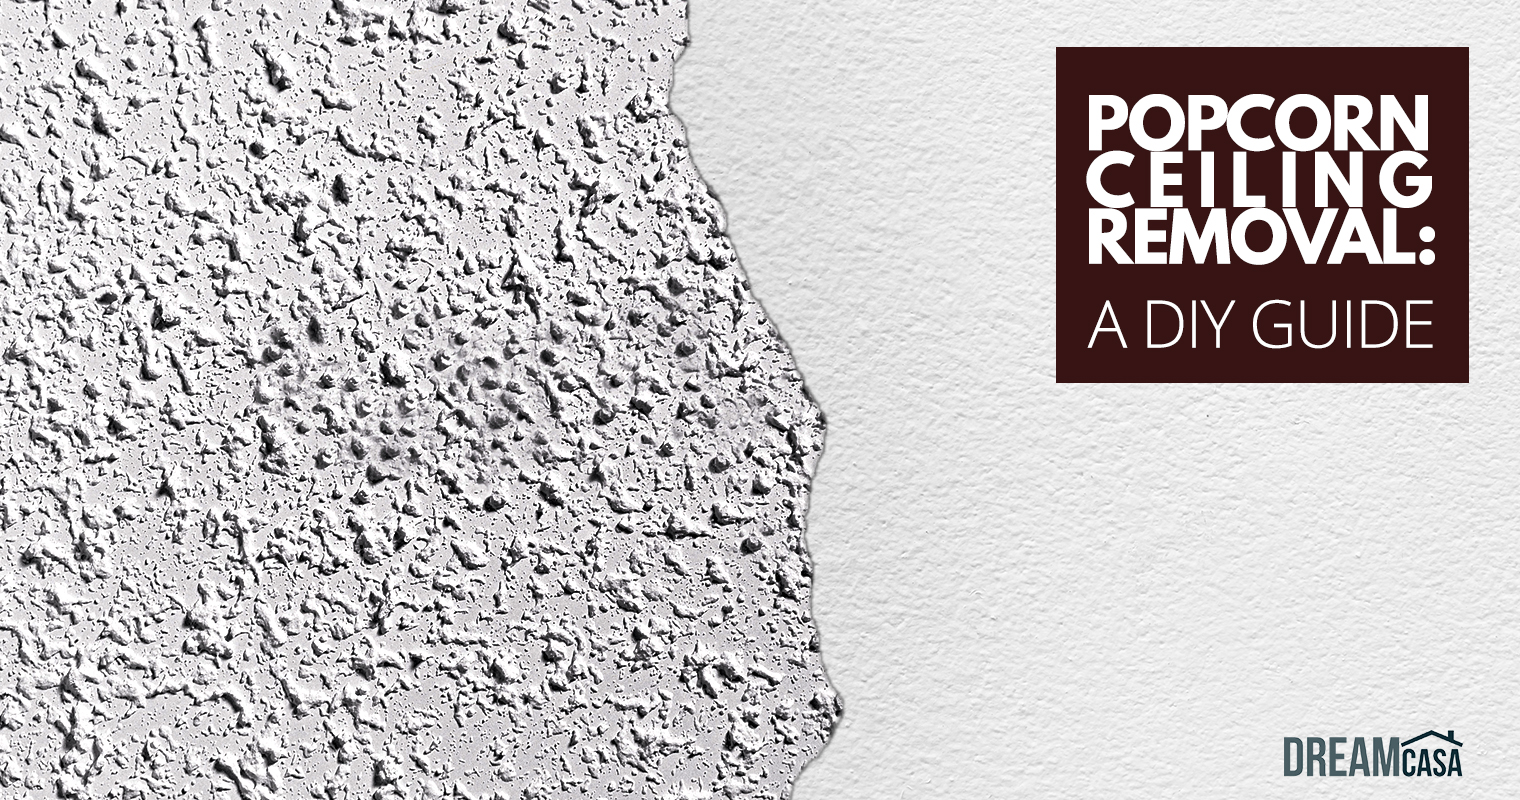
Popcorn ceilings were very popular in the 50’s and 60’s and have been plaguing households ever since. You would be hard-pressed to find anyone interested in installing popcorn ceilings in this day and age. Nice, smooth, paintable ceilings are what people are looking for. Still, when on an aggressive house hunt, a popcorn ceiling isn’t a make it or break it, because it can always be removed.
At as much as $2 per square foot, depending on the size of the home, something so simple could wind up taking a huge chunk out of your renovation budget. The good news is, you don’t need to be pro or require a lot of tools. Popcorn ceiling removal is very doable as a DIY project, but rest assured, it’s hard work and makes a big mess. Follow this guide and you’ll be enjoying smooth ceilings in no time (and hopefully, a recovery massage from your spouse):
1) When To Do It
This should be the first renovation you do before you move any furniture in. It will cause an enormous mess, rather than go through the effort of mitigating it with covers (it will still find its way through), go nuts and attack the project full force without preoccupation of consequences.
2) What Tools You Need
Your tool checklist includes: A sander, a garden sprayer, a putty knife with mud, paint, roller, and, of course, a scraper.
3) Cover Up
If not executing this task in an empty house, cover every inch of your house up, it’ll be raining wet plaster.
4) Spray Down A Section
Spray down the section you first plan to work on with your garden sprayer. Use the hottest water possible mixed with fabric softener.
5) Scrape, Scrape, Scrape!
Scrape every popcorn ceiling in your home, section by section. Be careful not to gouge big holes in your ceiling.
6) Smooth It Out
Lightly smooth out all the imperfections and residual popcorn with a sander. Don’t try on smooth out large gouges, just ensure the ceiling is nice and even.
7) Fix Gouges
Once sanded, it will look almost perfect aside from some gouging that would have inevitably occurred. Use your mud and knife to fill in these gouges so that it’s perfectly smooth.
8) Paint And Prime
Prime and paint with your preferred color and you’re done!
Original article found at: http://dreamcasa.org/living/remodel-and-renovation/popcorn-ceiling-removal-diy-guide/